Windows
How to build physika in windows environment
This page tells you how to build physika, including installation and basic configuration.
Install Cmake
- Download the latest version of cmake executable file(Click Here to download cmake executable file).
- Double click to install directly.
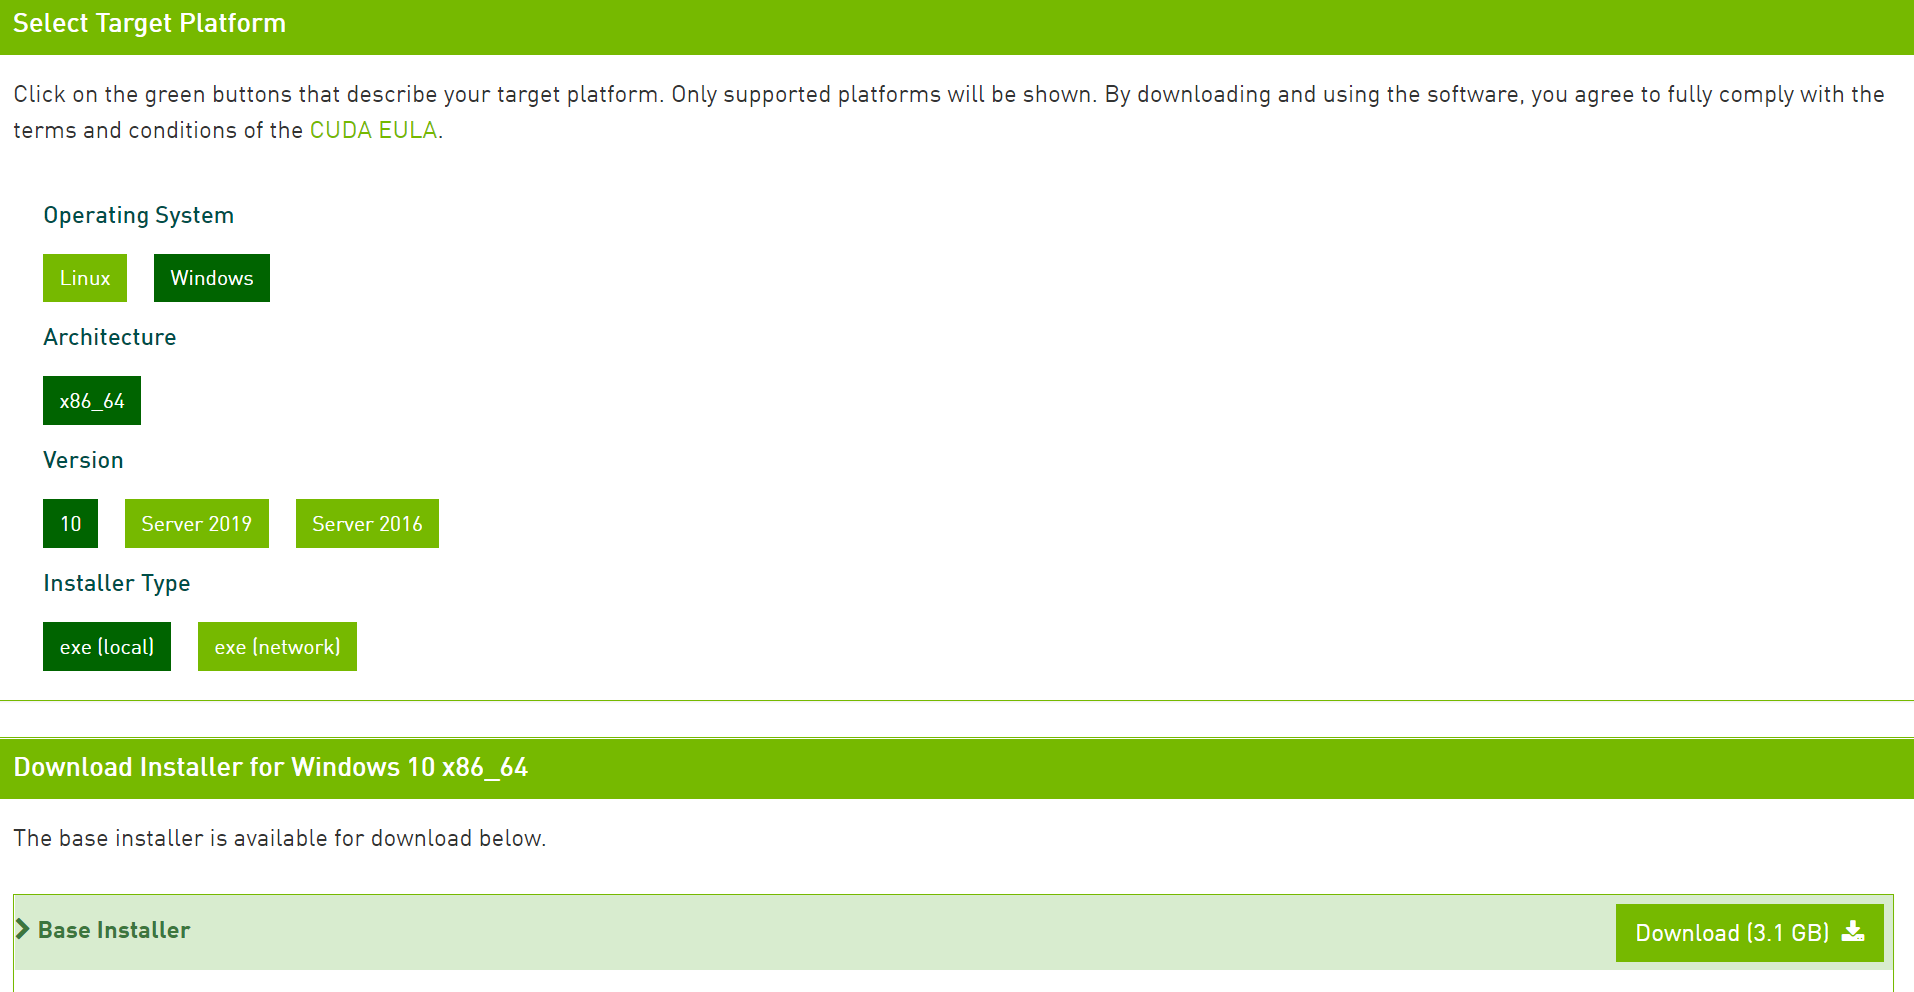
Install Cuda 11.0
-
Download cuda11.0(Click Here to download cuda11.0 executable file)
-
Double click to install directly.
-
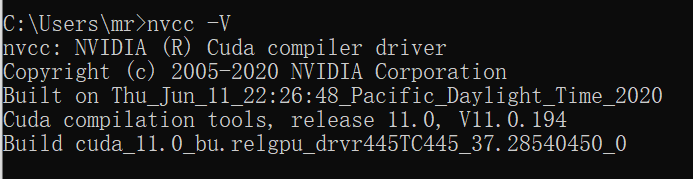
Open the command line and enter the nvcc -V command. The following message appears, indicating that the installation is successful.
Install Visual Studio 2017
-
Download Visual Studio 2017(Click Here to download visual studio 2017 executable file)
-
The community version of visual studio is free. It is recommended to install the community edition.
-
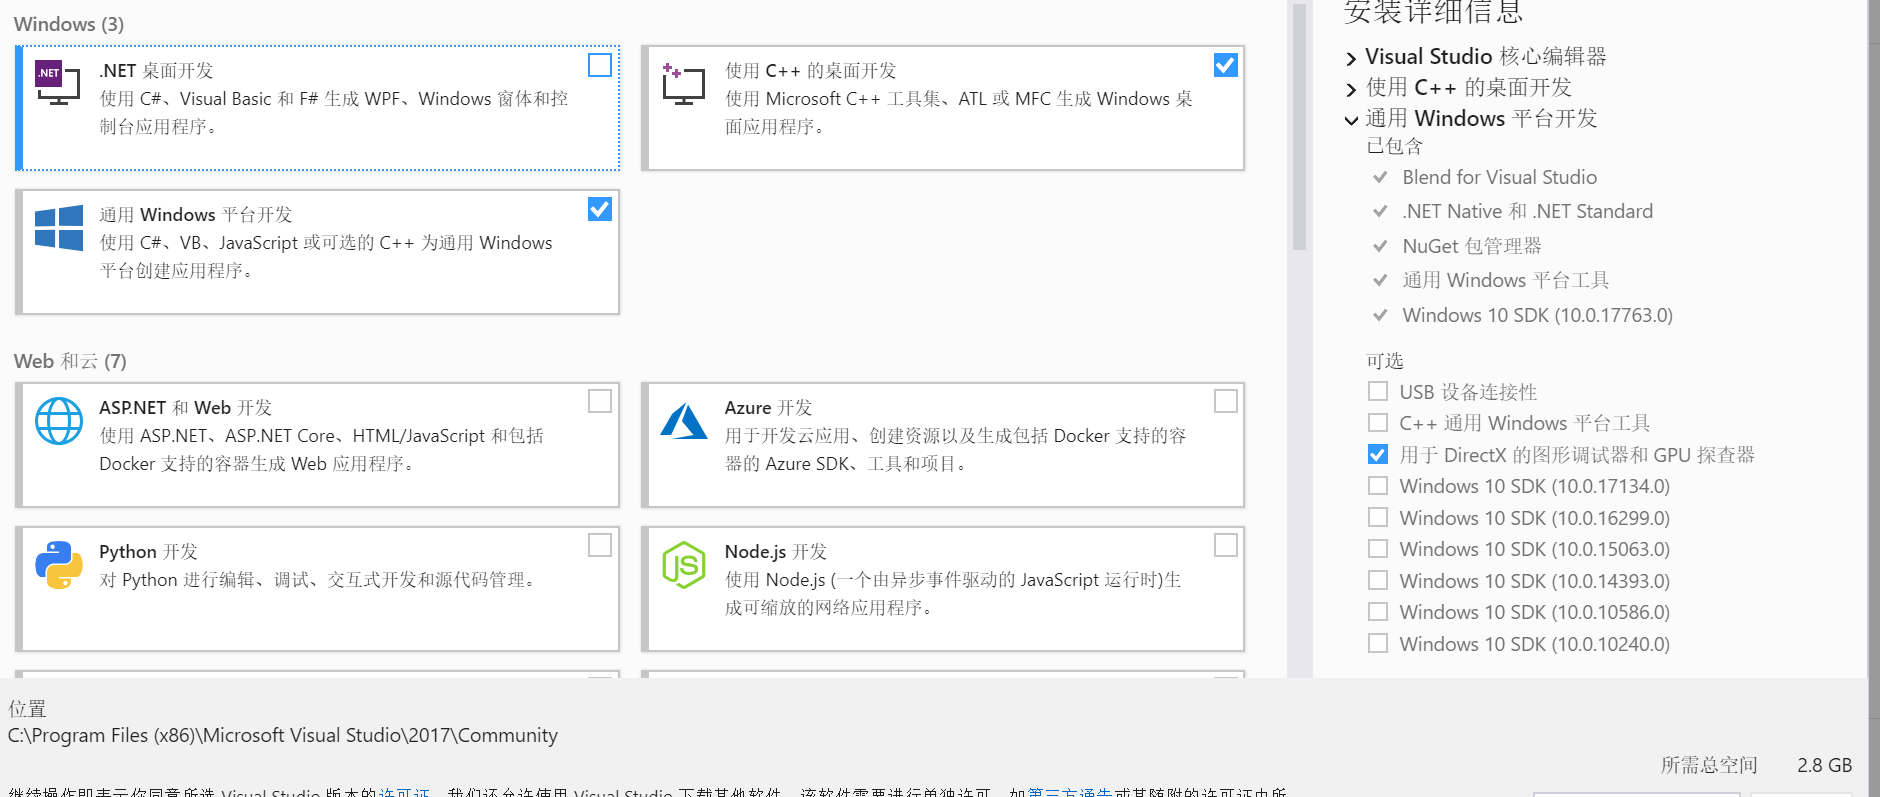
Choose what you need to install.
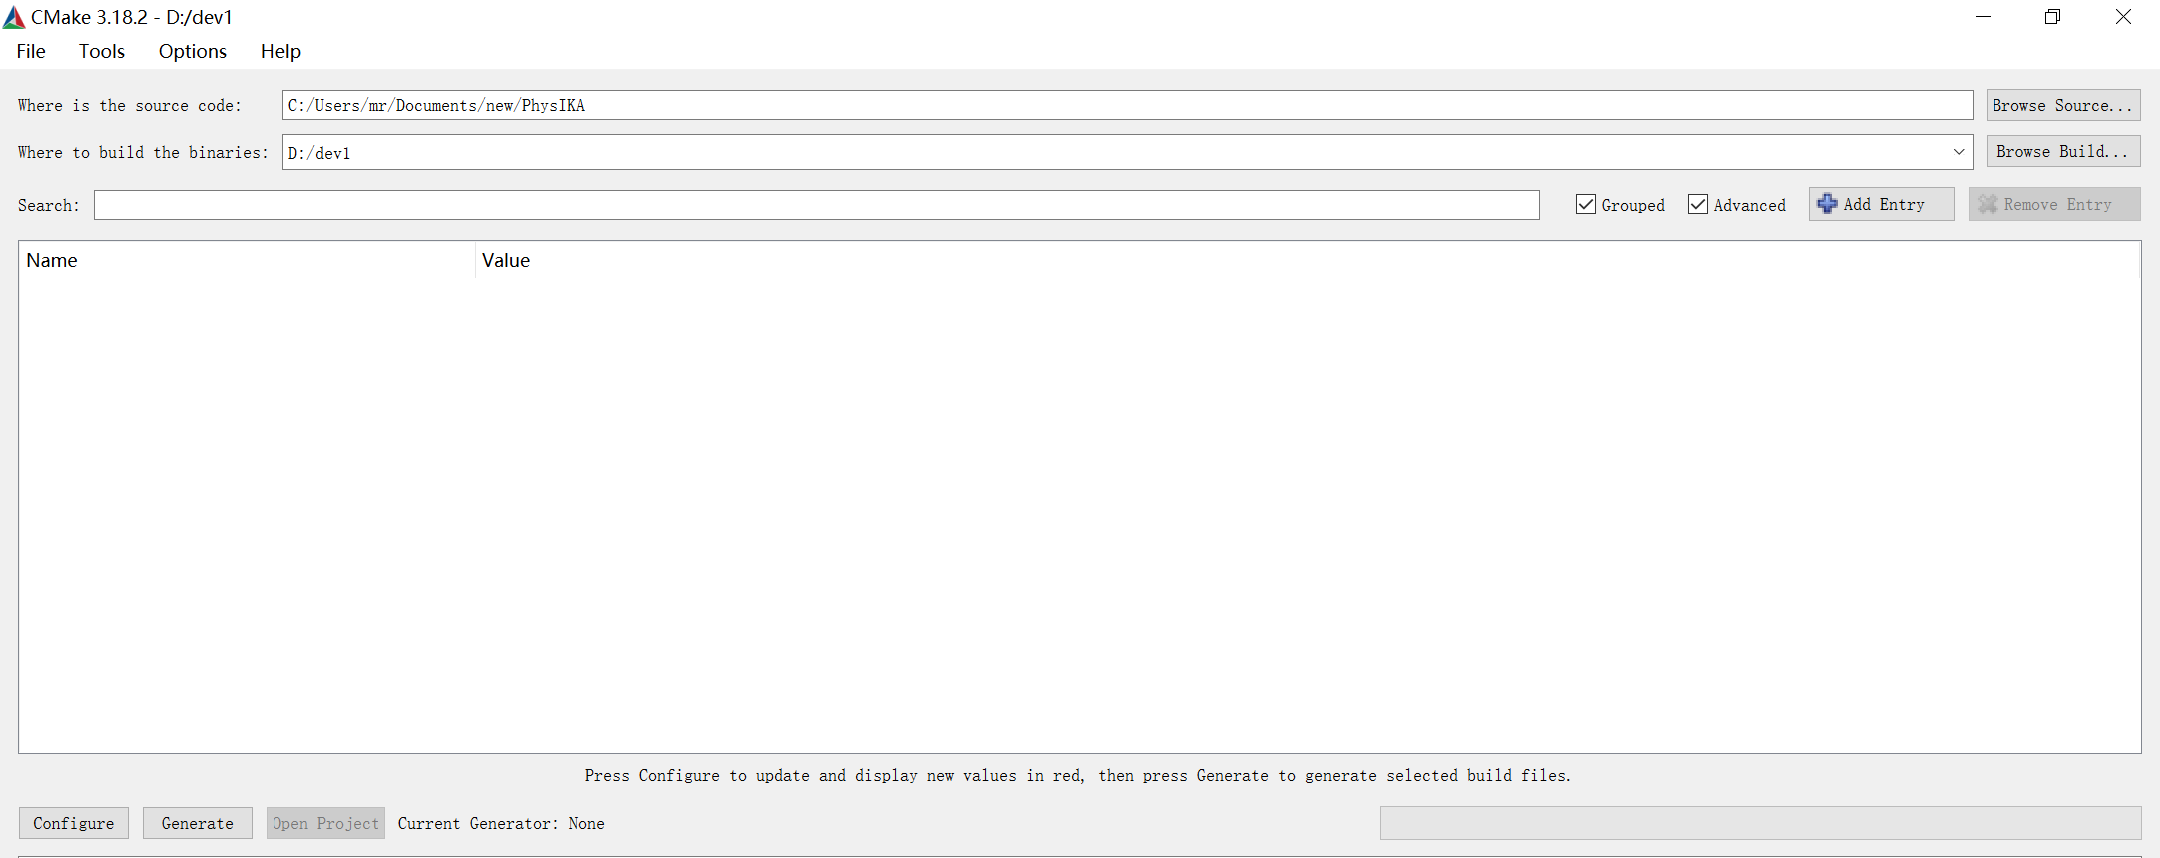
Install PhysiKA
-
pull the latest version of the Physika project by directly using
git clone.git clone https://github.com/PhysikaTeam/PhysIKA.git cd PhysIKA git submodule update --init --recursive` git checkout -b dev git pull origin dev -
Use cmake to compile and generate the corresponding project.
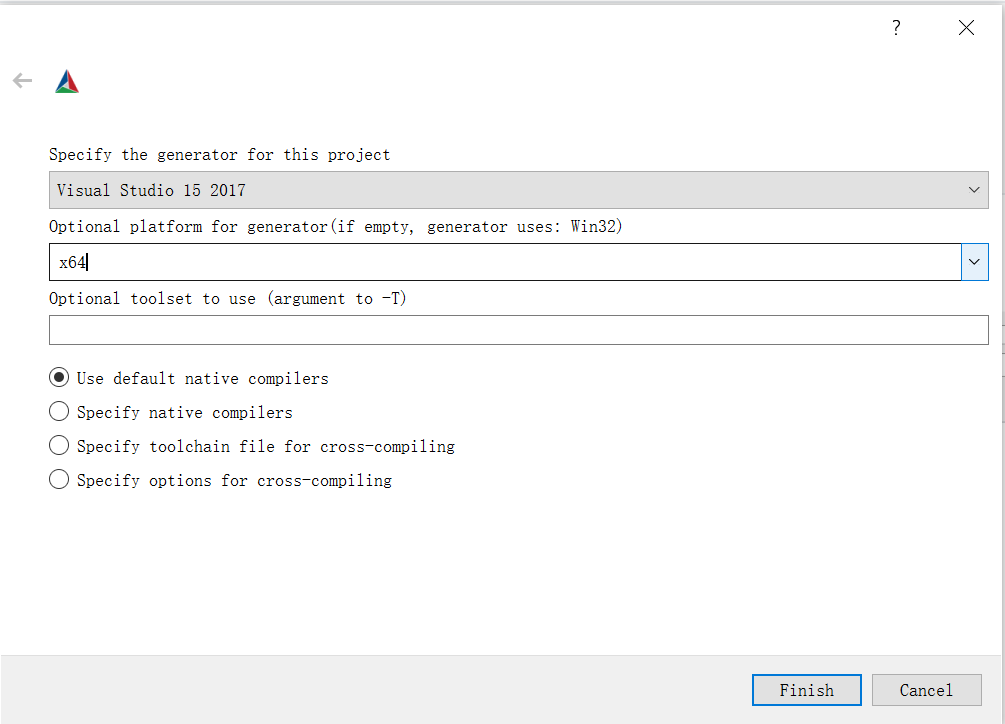
-
Configure to set up Visual Studio 2017 and 64-bit. Before that, make sure you install python3.7、cuda11.0 and Visual Studio 2017.
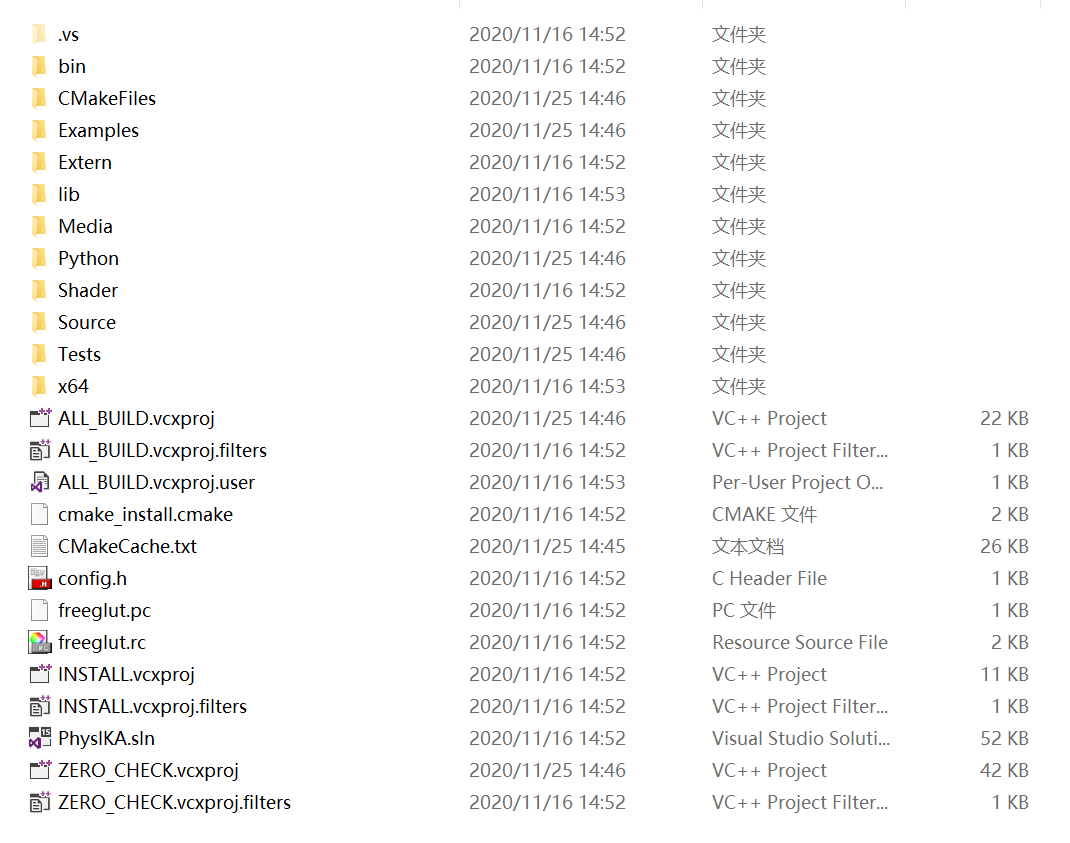
-
After generation, such a folder will be generated. Open with visual studio 2017 sln file.
-
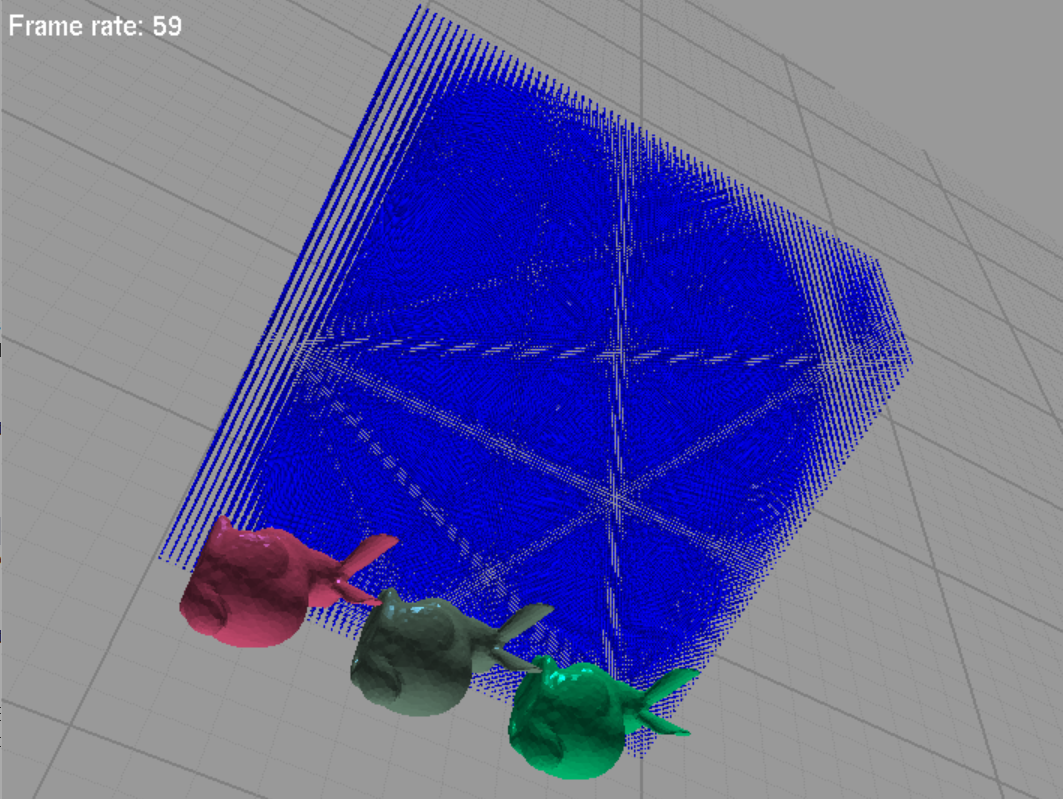
Run the project under the example folder. You will see the following results.